
Chocolate protein shakes are a delightful blend of indulgence and nourishment, making them a favorite among fitness enthusiasts and chocolate lovers alike.
These shakes offer a smooth, creamy texture without the need for bananas, allowing the rich flavor of chocolate to shine through.
I stumbled upon this recipe while searching for a post-workout treat that wouldn’t compromise my healthy lifestyle.
Whether enjoyed as a quick breakfast or a satisfying snack, these chocolate protein shakes are sure to please your palate while fueling your body.
The History and Cultural Significance
• Chocolate protein shakes have their roots in the health and fitness culture of the 20th century, originally crafted to aid muscle recovery and promote wellness.
• Over the years, the recipe has evolved with the introduction of various protein sources and flavors, becoming more versatile and appealing to a wider audience.
• In modern fitness culture, these shakes are a staple for athletes and gym-goers, often consumed post-workout as a quick source of nutrients and energy.
• While many variations exist, the fundamental characteristic of a smooth, rich chocolate flavor remains a defining element that sets these shakes apart.
Recipe Overview
Nutritional Information (per serving)
Ingredients
Essential Equipment Guide
Blender: A high-powered blender is essential for achieving a smooth and creamy texture in your shake. Look for blenders with at least 600 watts of power and multiple speed settings to handle tough ingredients like ice and frozen fruits.
Measuring Cups and Spoons: Accurate measurements are crucial for achieving the perfect balance of flavors and nutrients. Invest in a set of clear measuring cups and spoons for precision, especially when it comes to protein powder and sweeteners.
Protein Powder Scoop: Many protein powders come with a scoop for easy measuring. Ensure that the scoop is appropriately sized for your recipe to avoid unwanted variations in protein content.
Preparation Methods
Blending: This technique involves mixing all ingredients thoroughly to create a uniform texture. It’s essential for achieving that silky smooth consistency that makes a great protein shake. Start on a low setting and gradually increase the speed to fully incorporate all ingredients without splashing.
Measuring: Accurate measuring ensures that each ingredient contributes effectively to the shake’s flavor and texture. Use dry measuring cups for powders and sticky ingredients, and liquid measuring cups for liquids to avoid inconsistencies.
Chilling: Using ice not only cools the shake but also thickens it, giving it a satisfying texture. If you prefer a less icy shake, consider chilling your almond milk beforehand instead of using ice.
Step 1: Measure Ingredients

Gather all your ingredients, including almond milk, protein powder, cocoa powder, peanut butter, honey, and ice.
Using measuring cups and spoons, measure each ingredient accurately.
Proper measurement is crucial for achieving the desired flavor and texture.
Double-check your protein powder scoop to ensure you’re using the right amount.
Step 2: Add Ingredients to Blender

Begin by pouring the almond milk into your blender.
Next, add the chocolate protein powder and cocoa powder for rich flavor.
Then, spoon in the peanut butter and honey or maple syrup for sweetness.
Finally, add the ice cubes to give the shake a refreshing chill.
Step 3: Blend the Ingredients

Secure the lid on the blender tightly to prevent spills.
Start blending at a low speed to gradually combine the ingredients.
Once combined, increase to high speed and blend until smooth and creamy, about 30 seconds.
Stop occasionally to scrape down the sides of the blender for an even mix.
Step 4: Check Consistency

Turn off the blender and carefully remove the lid.
Use a spoon to check the consistency of the shake; it should be thick yet pourable.
If it’s too thick, add a little more almond milk and blend again.
For a thinner shake, continue blending until your desired texture is achieved.
Step 5: Serve the Shake

Pour the chocolate protein shake into a tall glass, allowing it to flow smoothly.
Optionally, garnish with a sprinkle of cocoa powder or chocolate shavings for a decorative touch.
Serve immediately for the best taste and texture.
Enjoy your nutritious and delicious chocolate protein shake!
Step 6: Clean Up

After enjoying your shake, immediately rinse the blender to prevent residue from hardening.
Use warm soapy water and a sponge for easy cleaning.
For stubborn residues, fill the blender with hot water and a drop of dish soap, then blend briefly.
Thoroughly dry the blender before storing to maintain its longevity.
Critical Timing and Temperature Guide
Blending Time: Blend for approximately 30 seconds at high speed until smooth. Look for a creamy texture without chunks. Common mistakes include over-blending, which can heat the shake, and under-blending, leaving powdery bits.
Chilling Time: If using chilled almond milk, it might require only a few ice cubes. If not, ensure to use enough ice to achieve a refreshing drink without it becoming watery. Watch for the shake to be chilled but not overly diluted.
Serving Temperature: Serve immediately after blending for optimal flavor and texture. If left to sit, the shake may separate and lose its appealing consistency.
Pro Tips for Chocolate Protein Shake Recipes No Banana Smooth And Tasty
• Ingredient Selection: Choose a high-quality chocolate protein powder to enhance the flavor of your shake significantly. Look for powders with minimal additives for a cleaner taste.
• Preparation Secret: Blending the peanut butter with the liquids first can prevent clumping and ensures a smoother texture in the finished shake.
• Temperature Management: Using chilled almond milk instead of ice can lead to a creamier shake without the icy texture, especially if you prefer a more milkshake-like consistency.
• Texture Enhancement: For an ultra-smooth texture, consider using a high-speed blender that can fully emulsify the ingredients, particularly the protein powder and nut butter.
• Flavor Layering: Experiment with adding a pinch of sea salt to elevate the chocolate flavor, creating a more complex taste profile.
• Make-Ahead Strategies: Pre-measure your dry ingredients and store them in a sealed container for quick assembly. Prepare the shake the night before and store it in the fridge for a quick grab-and-go breakfast.
• Restaurant-Quality Finishing Touches: Drizzle a little chocolate syrup inside the glass before pouring in the shake for an elegant presentation.
• Equipment Optimization: Ensure your blender is powerful enough to handle ice and frozen ingredients, which can affect the shake’s final texture.
Troubleshooting Common Issues
• Shake Too Thick: If your shake is thicker than desired, it may be due to too much protein powder or not enough liquid. Gradually add more almond milk and blend until you reach the desired consistency.
• Flavor Too Bitter: This can happen if too much cocoa powder is used or if the protein powder is unsweetened. Adjust sweetness by adding more honey or maple syrup, or reduce the cocoa powder.
• Inconsistent Texture: If the shake has lumps, it may be due to insufficient blending or improperly measured dry ingredients. Blend longer and ensure you’re using a high-speed blender for smooth results.
• Shake Too Sweet: If the shake is sweeter than preferred, reduce the amount of honey or maple syrup next time. You can also balance sweetness with a pinch of salt or additional cocoa powder.
• Not Cold Enough: If your shake isn’t as cold as desired, ensure to use enough ice and consider chilling the almond milk beforehand.
• Protein Powder Clumping: To avoid clumps, always add the dry ingredients to the blender first before the liquid, and blend on a low speed initially.
Variations and Regional Differences
• Vegan Chocolate Protein Shake: Substitute almond milk with a plant-based milk of your choice and ensure your protein powder is vegan-friendly. This variation maintains the same rich flavor while being completely plant-based.
• Mocha Chocolate Protein Shake: Add a shot of espresso or a tablespoon of instant coffee to your shake for a delightful mocha flavor. This adds an extra kick of energy that’s perfect for pre-workout fuel.
• Chocolate Mint Protein Shake: Incorporate a few drops of peppermint extract for a refreshing minty twist. This popular combination adds a delightful flavor profile that can be very refreshing.
• Chocolate Berry Protein Shake: Blend in a handful of frozen berries like strawberries or raspberries for a fruity variation that adds antioxidants and a burst of flavor.
Food Science Behind the Recipe
• Emulsification: The blending process creates an emulsion, where fat from the peanut butter and the liquid from the almond milk combine to form a smooth, consistent mixture. Understanding emulsification helps achieve that velvety texture.
• Protein Solubility: Different protein powders have varying solubility levels. A well-formulated protein powder will dissolve easily in liquids, preventing clumps and ensuring a smooth shake.
• Cooling Effect of Ice: Ice not only chills the shake but also contributes to its texture. The melting ice gradually dilutes the shake, balancing flavor while maintaining a refreshing cold drink.
Frequently Asked Questions
What’s the most common mistake people make when preparing chocolate protein shakes? The most common mistake is not blending long enough, which can leave lumps. Ensure to blend until completely smooth for the best experience.
Can I prepare components of this dish in advance? Yes, you can pre-measure dry ingredients and store them in the fridge. This speeds up the process, allowing you to quickly blend when ready.
How do I adapt this recipe for dietary restrictions? To make it dairy-free, use almond or oat milk, and for a nut allergy, consider sun butter instead of peanut butter.
What’s the best way to store and reheat leftovers? Store any leftovers in an airtight container in the fridge for up to 24 hours. Shake well before consuming as separation may occur.
Can I freeze this dish? Yes, you can freeze the shake in an airtight container. Thaw in the refrigerator and blend again before consuming.
What wine or beverages pair best with this dish? A rich stout or coffee-flavored beer complements the chocolate flavors beautifully.
How can I scale this recipe up for a crowd? Simply multiply the ingredients by the number of servings needed, ensuring you blend in batches if your blender can’t accommodate larger volumes.
What side dishes complement this recipe best? A bowl of fresh fruit or a handful of nuts pairs well, adding texture and nutrition to your shake.
How do professional chefs elevate this dish for restaurant service? Professional chefs often add house-made syrups or flavored whipped creams for a gourmet touch.
Serving and Presentation Guide
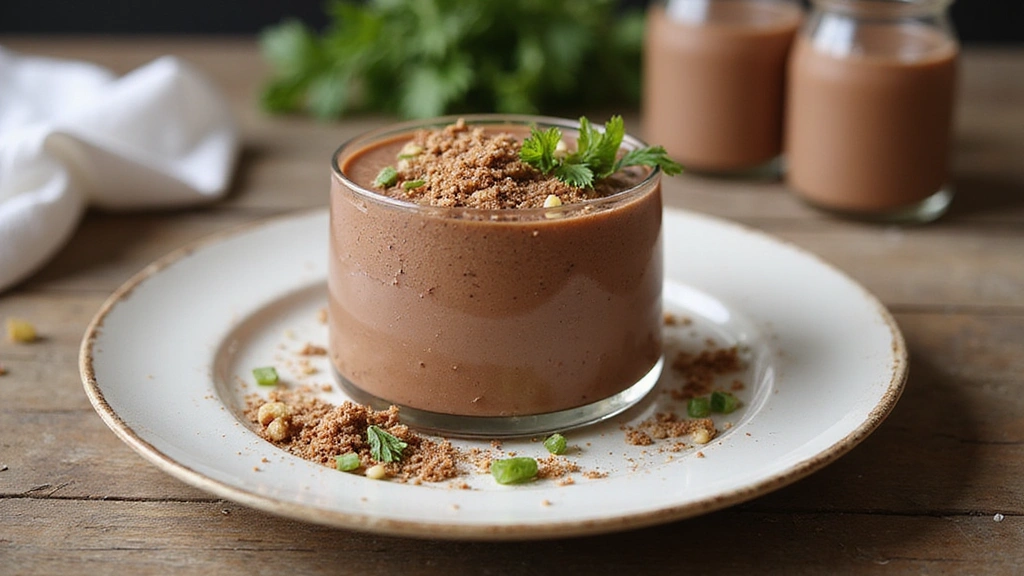
• Traditional Presentation: Serve the shake in a tall glass, garnished with a sprinkle of cocoa powder or chocolate shavings on top. This classic presentation highlights the rich chocolate flavor.
• Modern Plating Ideas: Consider serving the shake in a mason jar with a colorful straw for a trendy, rustic look that appeals to health-conscious consumers.
• Accompaniment Suggestions: Serve alongside a small protein bar or a piece of dark chocolate to enhance the chocolate experience.
• Special Occasion Presentation: For celebrations, consider layering the shake with whipped coconut cream and a drizzle of chocolate syrup, served in elegant glassware for an indulgent treat.
Conclusion
I hope you’re inspired to whip up your own chocolate protein shake without bananas!
With its rich flavor and creamy texture, this shake is not only delicious but also full of nutrition.
Enjoy experimenting with different ingredients and making it your own.