
There’s something undeniably satisfying about a Chocolate Peanut Butter Protein Shake that brings together rich flavors and a creamy texture in every sip.
This shake is not just a treat; it’s a powerhouse of nutrition, perfectly crafted for those who lead an active lifestyle.
The combination of chocolate and peanut butter is a classic that resonates with many, evoking memories of childhood desserts and snacks.
Whether you’re looking for a post-workout recovery drink or a quick breakfast, this shake offers a deliciously healthy option that fuels your day.
The History and Cultural Significance
• Chocolate Peanut Butter Protein Shake Recipes Healthy And Creamy trace their origins to the rise of health-conscious eating in the late 20th century.
• Initially created as a post-workout beverage, it evolved as athletes and fitness enthusiasts sought convenient ways to incorporate protein into their diets.
• In American culture, these shakes have gained popularity in gyms and homes alike, often symbolizing a balanced approach to indulgence and health.
• While many variations exist, the authentic version emphasizes a blend of high-quality protein, natural nut butters, and wholesome ingredients that provide both flavor and nutrition.


Recipe Overview
Nutritional Information (per serving)


Ingredients


Essential Equipment Guide
Blender: A high-quality blender is crucial for achieving a smooth and creamy texture in your shake. Look for models with powerful motors and sharp blades that can easily blend frozen fruits and dense ingredients like peanut butter.
Measuring Cups and Spoons: Accurate measurement is key to maintaining the balance of flavors and nutritional content in your shake. Invest in a set that offers both dry and liquid measuring tools for convenience.
Protein Powder Scoop: Using the right scoop ensures you’re adding the correct amount of protein powder. Look for one that comes with your protein powder or is clearly marked for easy measurement.

Preparation Methods
Blending: Proper blending is essential for achieving a creamy consistency. Start on a low setting and gradually increase speed, stopping occasionally to scrape down the sides for even blending.
Layering Ingredients: To ensure even mixing and flavor distribution, layer the ingredients in the blender starting with the liquid, followed by soft ingredients, and finishing with ice. This method helps the blades reach everything evenly.
Tasting and Adjusting: As you blend, taste the shake to ensure the flavor is balanced. If it’s too thick, add a little more almond milk; if it needs sweetness, a drizzle of honey or maple syrup can do the trick.

Step 1: Prepare Ingredients

Gather all your ingredients on the counter.
Ensure that the banana is ripe for optimal sweetness.
Check that your peanut butter is natural for a healthier option.
Measure out your almond milk and protein powder accurately.

Step 2: Layer the Blender

Start by pouring the almond milk into the blender.
Next, add the banana, followed by the peanut butter and protein powder.
Sprinkle in the cocoa powder for that rich chocolate flavor.
Finally, add the ice cubes to complete the layering.

Step 3: Blend the Ingredients

Secure the lid on the blender tightly.
Start blending on a low speed, gradually increasing to high.
Blend until the mixture is completely smooth and creamy, about 30-45 seconds.
Stop occasionally to scrape down the sides if necessary.
Step 4: Taste and Adjust

Once blended, taste the shake to check for sweetness and consistency.
If it’s too thick, add a splash more almond milk and blend again.
For added sweetness, consider a small drizzle of honey or maple syrup.
Blend again briefly to combine any additional ingredients.
Step 5: Serve the Shake

Pour the shake into two tall glasses.
Leave some space at the top for garnishing if desired.
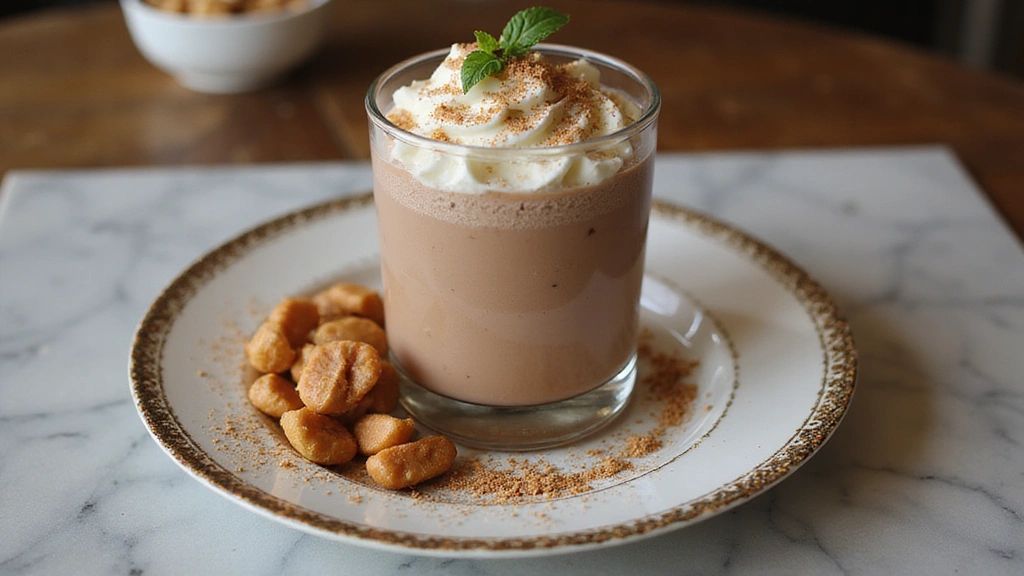
You can optionally top with whipped cream or a sprinkle of cocoa powder for presentation.
Serve immediately for the best texture and flavor.
Step 6: Enjoy Your Shake

Savor the creamy texture and rich flavors of your shake.
Enjoy it as a quick breakfast, post-workout recovery drink, or a delicious snack.
Feel free to share with a friend or keep it all to yourself!
Don’t forget to take in the delightful aroma before your first sip.
Critical Timing and Temperature Guide
Blending Time: Blend for about 30-45 seconds or until completely smooth. Look for a creamy consistency without chunks. Avoid over-blending, which can create a frothy texture.
Tasting Adjustments: Taste your shake after blending and adjust within 5 minutes. Once it’s chilled, it’s harder to alter the flavor or consistency. Make sure to check for sweetness before serving.
Serving Temperature: Serve immediately while cold. If the shake sits out, it may lose its refreshing chill, so enjoy right away!
Pro Tips for Chocolate Peanut Butter Protein Shake Recipes Healthy And Creamy
• Ingredient Selection: Choose high-quality peanut butter with no added sugars or oils for a healthier shake.
• Preparation Secret: Freeze your banana ahead of time for a thicker, creamier texture that enhances the shake.
• Temperature Management: Use cold almond milk and ice to ensure your shake is refreshing and chilled.
• Texture Enhancement: Blend longer for a smoother texture without lumps, but be careful not to over-blend.
• Flavor Layering: Experiment with adding a pinch of sea salt to enhance the chocolate and peanut butter flavors.
• Make-Ahead Strategies: Pre-portion ingredients in bags to make blending quick and easy during busy mornings.
• Restaurant-Quality Finishing Touches: Top with a drizzle of chocolate syrup or a dusting of cocoa powder for a café-style finish.
• Equipment Optimization: Ensure your blender is powerful enough to handle frozen ingredients for the best results.
Troubleshooting Common Issues
• Shake Too Thick: This can happen if too much ice or not enough liquid is used. To fix it, simply add a bit more almond milk and blend until smooth.
• Flavor Too Plain: If your shake lacks flavor, consider adding a bit of vanilla extract or cinnamon for a flavor boost.
• Too Much Sweetness: If the shake is overly sweet, add more almond milk to dilute the sweetness and balance the flavors.
• Separation After Blending: If your shake separates, give it a quick stir or shake before serving. Adding a bit more protein powder can also help stabilize it.
• Texture Gritty: A gritty texture often indicates insufficient blending. Ensure to blend long enough and check your blender’s power.
Variations and Regional Differences
• Vegan Variation: Swap almond milk for oat milk and use a plant-based protein powder for a completely vegan-friendly shake.
• Chocolate Mint Variation: Add a few drops of peppermint extract for a refreshing mint chocolate flavor.
• Nut-Free Variation: Substitute peanut butter with sunflower seed butter for those with nut allergies, keeping the flavor profile intact.
• Modern Interpretations: Incorporate superfoods like spinach or chia seeds for added nutritional benefits without compromising flavor.
Food Science Behind the Recipe
• Emulsification: The blending process creates an emulsion of fats from the peanut butter and liquids, resulting in a creamy texture. Understanding this helps in achieving the perfect consistency.
• Freezing Effects: Using frozen bananas not only thickens the shake but also helps in maintaining a cold temperature longer, which is essential for refreshing drinks.
• Protein Interaction: The protein in the shake interacts with other ingredients to create a smooth mouthfeel, enhancing overall enjoyment. This science behind texture is key to making your shake irresistible.
Frequently Asked Questions
What’s the most common mistake people make when preparing Chocolate Peanut Butter Protein Shake? One common mistake is not blending long enough, resulting in a gritty texture. Make sure to blend until smooth.
Can I prepare components of this dish in advance? Yes, you can pre-measure and store the ingredients in the fridge or freezer. Just blend them fresh when you’re ready to enjoy.
How do I adapt this recipe for dietary restrictions? For vegan options, use plant-based protein powder and nut-free butter alternatives for allergies.
What’s the best way to store and reheat leftovers? Store in an airtight container in the fridge for up to 24 hours. Shake well before drinking as separation may occur.
Can I freeze this dish? Yes, you can freeze the shake in ice cube trays and blend them again with a little almond milk for a quick treat later.
What wine or beverages pair best with this dish? A light-bodied red wine like Pinot Noir pairs nicely with chocolate flavors, or enjoy it with a creamy coffee for a delicious combination.
How can I scale this recipe up for a crowd? Multiply each ingredient by the number of servings needed, and consider blending in batches to maintain the best texture.
What side dishes complement this recipe best? Pair with a fruit salad or oatmeal for a balanced breakfast or snack.
How do professional chefs elevate this dish for restaurant service? Professional chefs often garnish with delicate chocolate shavings or fresh berries for a visually appealing presentation.
Serving and Presentation Guide
• Traditional Presentation: Serve in tall glasses with a simple garnish of cocoa powder on top. Use clear glasses to showcase the shake’s rich color and creamy texture.
• Modern Plating Ideas: Consider serving in a mason jar with a reusable straw, topped with a dollop of whipped cream and a drizzle of chocolate sauce for a trendy look.
• Accompaniment Suggestions: Pair with a slice of banana bread or healthy muffins for a wholesome breakfast.
• Special Occasion Presentation: For celebrations, serve in elegant cocktail glasses with a chocolate rim, garnished with fresh mint leaves for an upscale touch.

Conclusion
This Chocolate Peanut Butter Protein Shake is a delightful blend of flavor and nutrition that anyone can enjoy.
Its creamy texture and rich taste make it a perfect treat for any time of the day.
I hope you give this recipe a try and savor every delicious sip.