
There’s something irresistibly comforting about a warm chocolate chip cookie, especially when it’s soft and chewy.
This eggless version maintains all the classic flavors while offering a delightful twist for those with dietary restrictions.
I stumbled upon this recipe during a baking session with friends who were looking for alternatives, and it quickly became a favorite.
With its rich chocolatey goodness and perfect texture, these cookies are sure to please cookie lovers of all ages.
The History and Cultural Significance
• Chocolate Chip Cookies No Eggs Recipes Soft And Chewy traces its origins to the United States in the 1930s, where it was originally created by Ruth Wakefield at the Toll House Inn.
• The dish evolved over decades as recipes adapted to include various ingredients and techniques, eventually leading to the countless variations we enjoy today.
• In American culture, these cookies traditionally appear at family gatherings, holidays, and bake sales, symbolizing comfort and home-cooked joy.
• While many variations exist across different regions, the authentic version maintains a soft texture and rich chocolate flavor that sets it apart from imitations.
Recipe Overview
Nutritional Information (per serving)
Ingredients
Essential Equipment Guide
Mixing Bowl: A sturdy mixing bowl is crucial for combining ingredients evenly. Look for a bowl made from glass or stainless steel for durability and ease of cleaning.
Baking Sheet: A heavy-duty baking sheet ensures even heat distribution, preventing burnt bottoms. Choose one with a non-stick surface for easy cookie release.
Cookie Scoop: This tool helps in portioning dough uniformly, resulting in evenly sized cookies. Look for a scoop with a release mechanism for convenience.
Preparation Methods
Softening Butter: Allowing butter to soften at room temperature is crucial for achieving a creamy texture. This process helps in incorporating air into the dough, resulting in fluffy cookies. For best results, take the butter out of the fridge about 30 minutes before using it.
Mixing Techniques: Creaming butter and sugars together properly is key to achieving the right texture. This technique incorporates air into the mixture, making the cookies light and chewy. Use a hand mixer or stand mixer on medium speed for 2-3 minutes until fluffy.
Chilling Dough: Chilling the cookie dough before baking can enhance flavor and texture. This step allows the ingredients to meld and prevents the cookies from spreading too thin during baking. Aim to chill the dough for at least 30 minutes.
Step 1: Prepare Ingredients

Gather all the necessary ingredients on your countertop.
Make sure the butter is softened to room temperature for easy mixing.
Pre-measure your flour, sugars, baking soda, and salt into separate bowls for convenience.
This organization helps streamline the mixing process and ensures you have everything ready.
Step 2: Mix Dry Ingredients

In a medium mixing bowl, whisk together the flour, baking soda, and salt.
Incorporating these ingredients helps distribute the baking soda evenly throughout the flour.
Make sure there are no lumps in the flour for a smooth cookie dough.
This step is crucial for achieving consistent texture in the final product.
Step 3: Cream Butter and Sugars

In a large mixing bowl, combine the softened butter, brown sugar, and granulated sugar.
Using a hand mixer, beat the mixture on medium speed until it is light and fluffy, about 2-3 minutes.
Look for a pale color and a creamy texture, indicating that air has been incorporated.
This creaming method is essential for achieving the desired chewy texture in the cookies.
Step 4: Add Wet Ingredients

To the creamed butter and sugars, add the vanilla extract and milk.
Mix until just combined, ensuring not to overbeat the mixture.
This will help maintain the lightness of the dough while adding flavor.
Scrape down the sides of the bowl to incorporate all ingredients evenly.
Step 5: Combine Dry and Wet Ingredients

Gradually add the dry ingredient mixture to the wet ingredients in the large bowl.
Mix gently with a spatula or wooden spoon until just combined, being careful not to overmix.
The dough should be slightly sticky but hold together well.
This step ensures that the flour is evenly incorporated without developing gluten, which can lead to tougher cookies.
Step 6: Fold in Chocolate Chips

Add the chocolate chips to the cookie dough and fold them in gently.
Ensure that the chips are evenly distributed throughout the dough for consistent flavor in every bite.
Take care not to overmix, as this can affect the texture of the cookies.
The dough should be thick and gooey, perfect for baking.
Step 7: Chill the Dough

Cover the bowl with plastic wrap and place it in the refrigerator for at least 30 minutes.
Chilling the dough helps to solidify the fats, which leads to less spreading during baking.
This step also enhances the flavors, making for a richer cookie.
While the dough chills, preheat the oven to 350°F (175°C).
Step 8: Shape the Cookies

Remove the chilled dough from the refrigerator and scoop out portions using a cookie scoop.
Place the scoops onto a lined baking sheet, spacing them about 2 inches apart.
This spacing allows room for the cookies to spread while baking.
Aim for uniform size to ensure even baking.
Step 9: Bake the Cookies

Place the baking sheet in the preheated oven and bake for 10-12 minutes.
Watch for the edges to turn golden brown while the centers remain soft.
This visual cue indicates that the cookies are perfectly baked.
Remove the cookies from the oven and let them cool on the baking sheet for a few minutes before transferring them to a wire rack.
Step 10: Enjoy!

Once cooled, the cookies are ready to be enjoyed.
Serve them warm with a glass of milk or your favorite beverage.
These cookies are perfect for sharing with family and friends or savoring on your own.
Store any leftovers in an airtight container to maintain freshness.
Critical Timing and Temperature Guide
Chilling Dough: Chill the dough for at least 30 minutes in the refrigerator. This helps maintain the cookie shape and enhances flavor. Avoid skipping this step, as it can lead to overly flat cookies.
Baking Time: Bake the cookies for 10-12 minutes at 350°F (175°C). Look for golden edges and soft centers as indicators of doneness. Overbaking will lead to dry cookies.
Cooling Period: Allow the cookies to cool on the baking sheet for 5 minutes before transferring to a wire rack. This ensures they firm up slightly and maintain their chewy texture.
Pro Tips for Chocolate Chip Cookies No Eggs Recipes Soft And Chewy
• Ingredient Selection: Use high-quality chocolate chips, preferably semi-sweet or dark, for a richer flavor.
• Preparation Secret: Consider chilling the cookie dough overnight for an even deeper flavor and texture.
• Temperature Management: Ensure the butter is just softened, not melted, to prevent greasy cookies.
• Texture Enhancement: Slightly underbake the cookies for a chewier texture; they will continue to cook on the baking sheet.
• Flavor Layering: Add a pinch of sea salt on top before baking to enhance sweetness and add depth.
• Make-Ahead Strategies: Freeze cookie dough balls for up to 3 months. Bake directly from the freezer, adding a couple of extra minutes to the baking time.
• Restaurant-Quality Finishing Touches: Garnish with extra chocolate chips on top before baking for an appealing look.
• Equipment Optimization: Use parchment paper on your baking sheet for easier cleanup and perfectly baked cookies.
Troubleshooting Common Issues
• Cookies Spread Too Much: This can happen if the butter is too warm or the dough isn’t chilled. Ensure your butter is softened properly and refrigerate the dough before baking.
• Cookies Too Dry: Overbaking can lead to dry cookies. Keep an eye on them during the last few minutes of baking to achieve that perfect chewy texture.
• Flavors Too Bland: Ensure you are using quality ingredients, especially vanilla and chocolate. A pinch of sea salt can also elevate the overall flavor.
• Uneven Baking: Make sure to rotate your baking sheets halfway through baking for even results. This is especially important in home ovens.
• Cookies Too Hard: If you accidentally overbake, try storing them with a piece of bread in an airtight container to help soften them.
• Textural Issues: If cookies turn out too cake-like, try reducing the flour slightly in your next batch.
Variations and Regional Differences
• Vegan Variation: Substitute butter with coconut oil or vegan margarine and use dairy-free chocolate chips for a completely vegan cookie.
• Nutty Addition: Incorporate chopped nuts, like walnuts or pecans, for added crunch and flavor.
• Oatmeal Chocolate Chip: Add oats to the dough for a heartier texture and unique flavor profile.
• Modern Interpretations: Try incorporating flavored extracts like almond or hazelnut for a contemporary twist on the classic recipe.
Food Science Behind the Recipe
• Creaming Method: The process of creaming butter and sugar incorporates air into the mixture, which creates a light and fluffy texture in the final cookie.
• Maillard Reaction: This chemical reaction occurs during baking, leading to the browning of sugars and proteins, giving cookies their distinct flavor and color.
• Chilling Dough: Chilling the dough solidifies fats, which helps prevent excessive spreading during baking and enhances the cookie’s chewiness.
Frequently Asked Questions
What’s the most common mistake people make when preparing Chocolate Chip Cookies No Eggs? The top mistake is overmixing the dough, which can lead to tough cookies. Mix just until ingredients are combined for the best texture.
Can I prepare components of this dish in advance? Yes, you can prepare the dough and chill it in the fridge for up to 2 days or freeze it for up to 3 months.
How do I adapt this recipe for dietary restrictions? Substitute the butter with a plant-based alternative and use dairy-free chocolate chips for a vegan version.
What’s the best way to store and reheat leftovers? Store cookies in an airtight container at room temperature for up to a week. Reheat in the microwave for 10-15 seconds for freshness.
Can I freeze this dish? Yes, freeze the cookie dough balls and bake them directly from the freezer, adding an extra 1-2 minutes to the baking time.
What wine or beverages pair best with this dish? A glass of cold milk or a rich coffee pairs wonderfully with chocolate chip cookies.
How can I scale this recipe up for a crowd? Simply double or triple the ingredients while keeping the proportions the same for larger batches.
What side dishes complement this recipe best? Serve with a scoop of vanilla ice cream for a delicious dessert pairing.
How do professional chefs elevate this dish for restaurant service? Professional chefs often garnish cookies with flaked sea salt or serve them warm with a drizzle of chocolate on top.
Serving and Presentation Guide
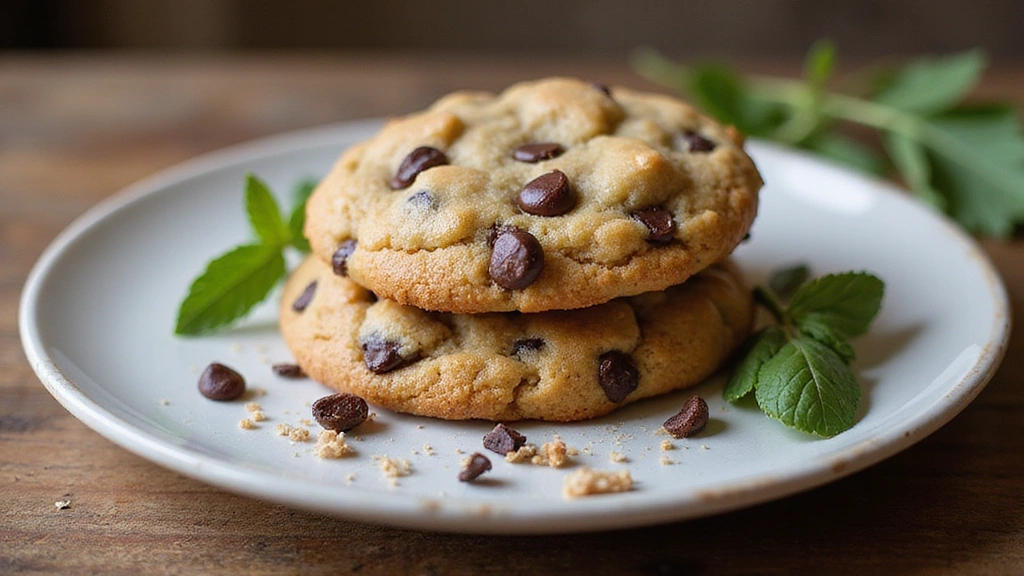
• Traditional Presentation: Serve warm cookies on a simple white plate, perhaps with a glass of milk alongside for a classic touch.
• Modern Plating Ideas: Stack cookies on a tiered stand or use a slate board for a contemporary look, garnished with a sprinkle of sea salt.
• Accompaniment Suggestions: Pair with coffee, tea, or milk, and consider serving with a scoop of ice cream on the side.
• Special Occasion Presentation: For holidays or gatherings, arrange cookies in a decorative box or tin with colorful tissue paper for an inviting gift.
Conclusion
Baking these Chocolate Chip Cookies No Eggs is a delightful experience that results in a treat everyone will enjoy.
I encourage you to try this recipe, whether for a special occasion or just a cozy night in.
Discovering the joy of eggless baking opens a world of possibilities and flavors to explore.