
The aroma of freshly baked chocolate chip cookies is a universal comfort that evokes nostalgia and warmth.
These KitchenAid Mixer recipes take the classic cookie to a new level of perfection with minimal effort.
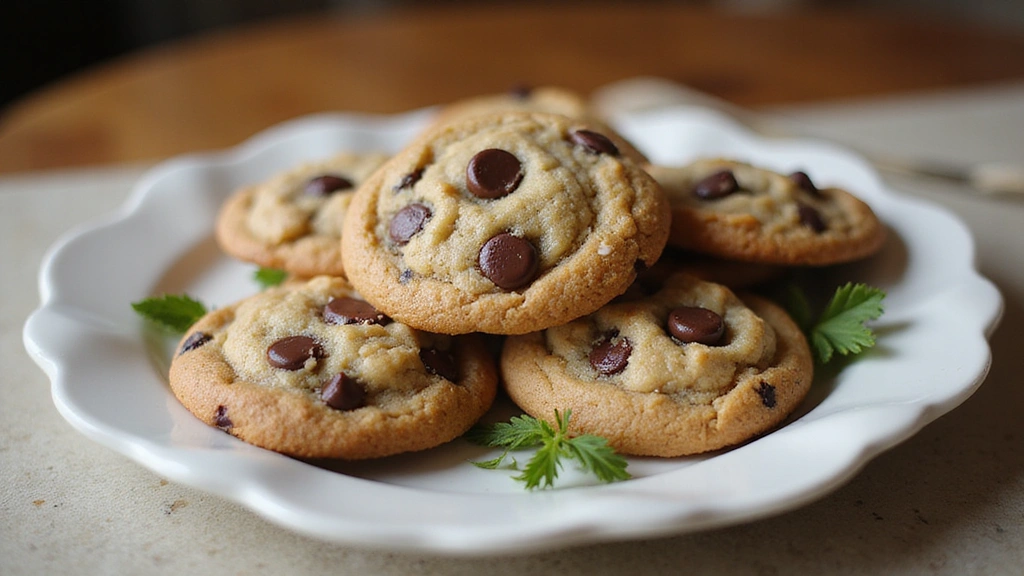
With soft, chewy centers and golden edges, they are a delightful treat for any occasion.
Whether you’re baking for a school event, a family gathering, or simply indulging yourself, these cookies are sure to impress.
The History and Cultural Significance
• Chocolate chip cookies were invented in the United States in the 1930s, credited to Ruth Wakefield at the Toll House Inn.
• Initially created as a variation of Butter Drop Do cookies, they quickly gained popularity due to their unique flavor and texture.
• In American culture, chocolate chip cookies are often associated with childhood memories and family gatherings, symbolizing love and comfort.
• Today, variations abound, but the classic recipe remains a staple in households across the country.
Recipe Overview
Nutritional Information (per serving)
Ingredients
Essential Equipment Guide
KitchenAid Stand Mixer: This powerful mixer ensures thorough mixing and aeration, making it an essential tool for achieving perfectly baked cookies. Look for one with a tilt-head design for easy access and cleaning.
Baking Sheets: A good, heavy-duty baking sheet is crucial for even baking. Opt for non-stick or parchment-lined sheets to prevent sticking and ensure easy removal.
Cookie Scoop: Using a cookie scoop helps create uniform cookies that bake evenly. Choose a scoop size that matches your desired cookie size for consistent results.
Preparation Methods
Creaming Butter and Sugar: This technique involves beating softened butter with sugars until light and fluffy. This step is crucial for incorporating air into the batter, which helps create a light texture in the cookies. Ensure the butter is at room temperature for best results.
Chilling the Dough: Chilling cookie dough for at least 30 minutes before baking helps the cookies maintain their shape and enhances flavor. It allows the flour to hydrate and the flavors to meld, resulting in a better cookie.
Using Parchment Paper: Lining your baking sheets with parchment paper prevents sticking and promotes even baking. It also makes cleanup a breeze, allowing for easy removal of cookies without damage.
Step 1: Prepare Ingredients

Gather all ingredients needed for the recipe.
Make sure to measure them accurately for the best results.
Pre-sift the flour, baking soda, and salt together to ensure even distribution.
Set aside the chocolate chips for easy access later.
Step 2: Cream Butter and Sugars

In your KitchenAid mixer, combine the softened butter, brown sugar, and granulated sugar.
Mix on medium speed until the mixture is light and fluffy, about 2-3 minutes.
Scrape down the sides of the bowl to ensure even mixing.
This step is key for incorporating air into the batter, which contributes to the cookie’s texture.
Step 3: Add Eggs and Vanilla

Add the eggs one at a time to the creamed mixture, mixing well after each addition.
Then, pour in the vanilla extract and mix until fully combined.
This step adds moisture and flavor, enhancing the overall taste of the cookies.
Make sure the mixture is well-blended before moving on.
Step 4: Combine Dry Ingredients

In a separate bowl, whisk together the flour, baking soda, and salt.
This helps to evenly distribute the leavening agents throughout the flour.
Gradually add the dry ingredients to the wet mixture in the mixer.
Mix on low speed until just combined, avoiding overmixing to keep the cookies tender.
Step 5: Fold in Chocolate Chips

Once the dough is combined, gently fold in the chocolate chips using a spatula.
This ensures that the chips are evenly distributed throughout the dough.
Be careful not to overmix, as this can lead to tough cookies.
You want to see chunks of chocolate in every bite!
Step 6: Chill the Dough

Cover the bowl with plastic wrap and place it in the refrigerator for at least 30 minutes.
Chilling helps the flavors meld and prevents the cookies from spreading too much while baking.
If you’re short on time, chilling for just 15 minutes can still make a difference.
Plan ahead for the best texture and flavor.
Step 7: Preheat the Oven

While the dough chills, preheat your oven to 350°F (175°C).
This ensures that the cookies start baking immediately when placed in the oven.
A properly preheated oven is crucial for achieving the perfect rise and golden edges.
Check the temperature with an oven thermometer for accuracy.
Step 8: Scoop Cookies onto Baking Sheets

Using a cookie scoop, portion out the dough onto prepared baking sheets, spacing them about 2 inches apart.
This allows room for the cookies to spread while baking.
Aim for uniform sizes to ensure even baking.
If desired, add a few extra chocolate chips on top for a decorative touch.
Step 9: Bake the Cookies

Place the baking sheets in the preheated oven and bake for 9-11 minutes.
Keep an eye on them; cookies are done when the edges are lightly golden but the centers still look slightly underbaked.
This will ensure a chewy texture once cooled.
Rotate the baking sheets halfway through for even baking.
Step 10: Cool and Enjoy

Once baked, remove the cookies from the oven and let them cool on the baking sheet for 5 minutes.
Then, transfer them to a wire rack to cool completely.
This cooling step is important for allowing the cookies to set properly.
Enjoy your perfectly baked chocolate chip cookies with a glass of milk!
Critical Timing and Temperature Guide
Baking Time: Cookies should be baked for 9-11 minutes at 350°F (175°C). Look for lightly golden edges and slightly soft centers as indicators of doneness. Avoid overbaking, as it can lead to dry cookies.
Cooling Time: Allow cookies to cool on the baking sheet for about 5 minutes before transferring to a wire rack. This prevents them from breaking apart and gives them time to set up.
Chilling Time: Dough should be chilled for at least 30 minutes, but can be chilled for up to 24 hours. Longer chilling times enhance flavor and texture.
Pro Tips for Kitchenaid Mixer Recipes Chocolate Chip Cookies Perfectly Baked
• Ingredient Selection: Use high-quality chocolate chips and fresh butter for the best flavor. Look for chocolate with at least 60% cocoa for a richer taste.
• Preparation Secret: Chill the cookie dough for at least 30 minutes to enhance flavor and texture, preventing excessive spreading.
• Temperature Management: Ensure your butter is softened to room temperature, about 65°F (18°C), for optimal creaming.
• Texture Enhancement: Use a mixture of brown and granulated sugar for a chewy cookie with crisp edges.
• Flavor Layering: Consider adding a pinch of espresso powder to the dough to intensify the chocolate flavor.
• Make-Ahead Strategies: You can freeze cookie dough balls for up to three months. Just bake them directly from frozen, adding a minute or two to the baking time.
• Restaurant-Quality Finishing Touches: Sprinkle a little sea salt on top of the cookies just before baking for a gourmet touch.
• Equipment Optimization: Use the paddle attachment on your KitchenAid mixer for the best results in mixing cookie dough.
Troubleshooting Common Issues
• Cookies Spread Too Much: This often occurs when the dough is too warm or not chilled enough. To prevent this, always chill your dough for at least 30 minutes before baking.
• Cookies Too Dry: Overbaking or too much flour can lead to dry cookies. Make sure to measure flour carefully and reduce baking time if necessary.
• Cookies Too Soft: If cookies are underbaked, they will have a soft texture. Bake until the edges are golden, and allow them to cool properly.
• Flavor Lacks Depth: Ensure you’re using quality ingredients, especially vanilla and chocolate. A pinch of salt can also enhance overall flavor.
• Uniformity Issues: If cookies are unevenly baked, make sure to use a cookie scoop for consistent sizing and rotate the baking sheets halfway through baking.
• Sticking to the Baking Sheet: Always line your baking sheets with parchment paper or use a silicone mat to prevent sticking.
Variations and Regional Differences
• New York Style: These cookies are often larger and thicker, with a higher chocolate chip-to-dough ratio. They may include chopped nuts for added texture.
• Vegan Version: Substitute butter with coconut oil and use flax eggs instead of regular eggs for a plant-based alternative that maintains flavor and texture.
• Gluten-Free Version: Replace all-purpose flour with a 1:1 gluten-free flour blend. This maintains the same texture while accommodating gluten sensitivities.
• Modern Interpretations: Incorporate trendy ingredients like sea salt caramel or matcha for a contemporary twist on the classic cookie.
Food Science Behind the Recipe
• Creaming Method: Creaming butter and sugar incorporates air into the mixture, which helps create a light and fluffy texture in cookies once baked.
• Maillard Reaction: This chemical reaction occurs between sugars and amino acids during baking, resulting in the cookies’ golden-brown color and rich flavor.
• Hydration of Flour: Allowing dough to rest after mixing gives flour time to fully hydrate, which improves the cookie’s structure and moisture retention.
Frequently Asked Questions
What’s the most common mistake people make when preparing chocolate chip cookies? The most common mistake is not chilling the dough, which can lead to overly flat cookies. Ensure adequate chilling time for the best results.
Can I prepare components of this dish in advance? Yes, you can prepare the dough ahead of time and refrigerate it for up to 24 hours, or freeze it for up to 3 months. Just thaw before baking.
How do I adapt this recipe for dietary restrictions? To make these cookies vegan, substitute the butter with coconut oil and use flax or chia seeds instead of eggs. Gluten-free flour can replace regular flour.
What’s the best way to store and reheat leftovers? Store cookies in an airtight container at room temperature for up to a week. To reheat, place in a preheated oven at 350°F for about 5 minutes.
Can I freeze this dish? Yes, cookie dough can be frozen for up to 3 months. Bake directly from frozen, adding 1-2 minutes to the baking time.
What wine or beverages pair best with this dish? Pair chocolate chip cookies with a glass of milk or a sweet dessert wine like Port or a fruity red wine that complements the chocolate.
How can I scale this recipe up for a crowd? To scale up, simply double or triple the ingredients, but remember to bake in batches to avoid overcrowding the oven.
What side dishes complement this recipe best? Chocolate chip cookies pair wonderfully with a scoop of vanilla ice cream for a classic dessert combination.
How do professional chefs elevate this dish for restaurant service? Many chefs use gourmet chocolate, add unique flavorings, or serve cookies warm with a scoop of ice cream for an elevated dessert experience.
Serving and Presentation Guide
• Traditional Presentation: Serve warm cookies on a rustic wooden platter, nestled among napkins for a homey feel. Pair with a glass of cold milk for a classic touch.
• Modern Plating Ideas: Stack cookies in a clear glass jar for a contemporary look, or serve on a slate board with a drizzle of melted chocolate on the side.
• Accompaniment Suggestions: Fresh berries or a scoop of ice cream complement the sweetness of cookies and add freshness.
• Special Occasion Presentation: For celebrations, arrange cookies on a tiered cake stand with decorative elements like edible flowers or themed decorations for a festive touch.
Conclusion
Baking chocolate chip cookies is not just about creating a delicious treat; it’s about making memories and sharing joy.
With this recipe, you can achieve perfectly baked cookies that are sure to become a family favorite.
I encourage you to gather your loved ones and experience the magic of baking together.